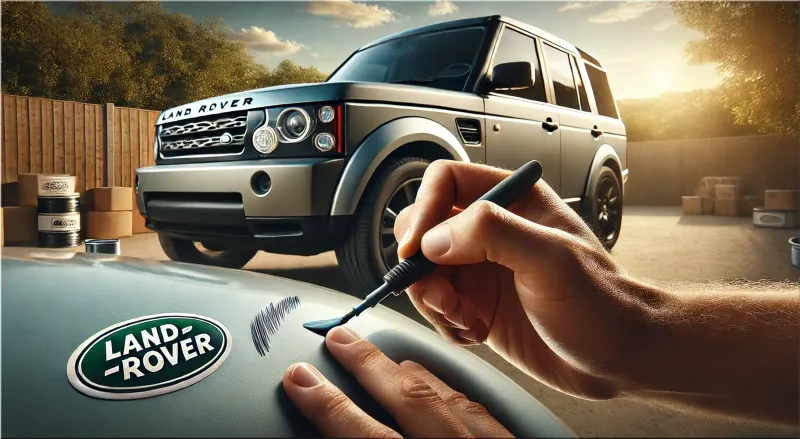
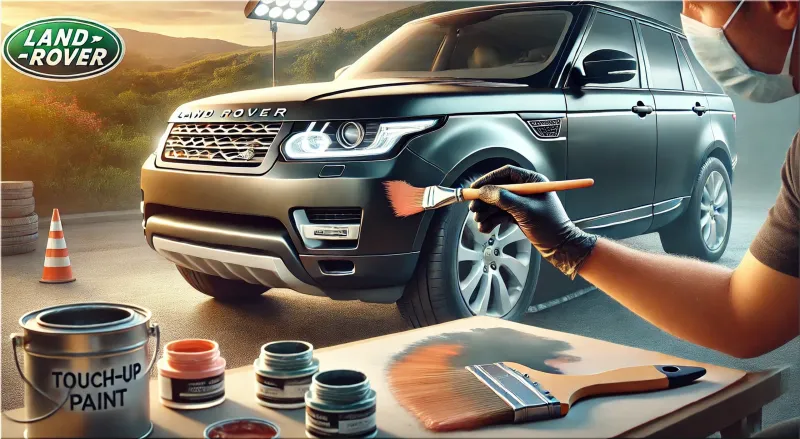
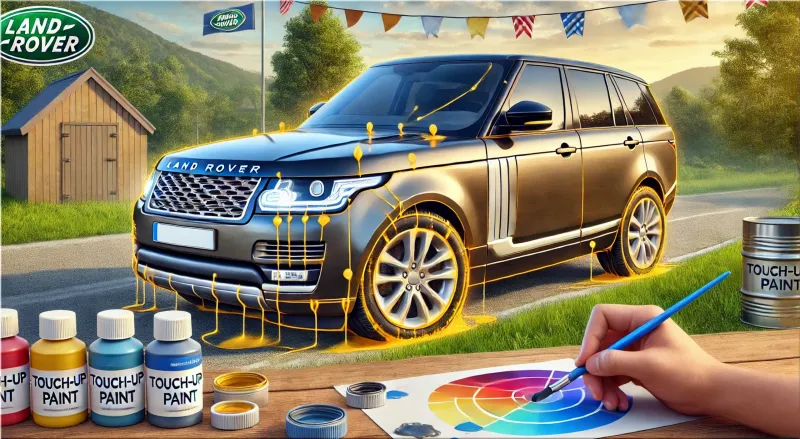
You love your Land Rover, but scratches and stone chips on the paint can be frustrating. Whether it's from off-road adventures or minor parking mishaps, imperfections can make your vehicle look worn. Instead of ignoring them, you decide to use touch-up paint to restore your Land Rover’s flawless finish.
But here’s the catch—touch-up paint isn’t as simple as dabbing color on a scratch. Many DIY enthusiasts make mistakes that lead to uneven patches, color mismatches, or peeling paint. Instead of improving your Land Rover’s look, a poor touch-up job can make the damage more noticeable. Worse, it could leave your car vulnerable to rust and further deterioration.
To help you get professional-looking results, here are the most common mistakes to avoid when using Land Rover touch-up paint.
INDEX
1. Skipping the Surface Preparation
2. Ignoring Primer for Deep Scratches
3. Choosing the Wrong Color Match
4. Applying Too Much Paint at Once
5. Not Allowing Sufficient Drying Time
7. Neglecting to Blend the Edges
8. Using the Wrong Application Tool
9. Applying Paint in Bad Weather Conditions
10. Not Buffing and Polishing the Area
1. Skipping the Surface Preparation
If dirt, grease, or wax is still on the area, the paint won’t adhere well. Always clean the scratch with soapy water, dry it thoroughly, and then use rubbing alcohol or a prep solvent to remove any lingering contaminants. For the best results, lightly sand the damaged area with a fine-grit sandpaper.
2. Ignoring Primer for Deep Scratches
If the scratch is deep to expose the metal or primer layer, you’ll need to apply a primer before using touch-up paint. Skipping this step can lead to rust formation and poor adhesion. Use a thin layer of automotive primer and let it dry completely before proceeding with paint.
Priming ensures that the paint sticks properly and provides a uniform base for the coat. Without it, you risk having an uneven or patchy finish that doesn’t blend well with the rest of your Land Rover’s paint.
3. Choosing the Wrong Color Match
Not all Land Rover shades are the same, even if they look similar. Using the wrong paint code can make the paint job stand out instead of blending in. Before purchasing paint, find your Land Rover’s exact color code (usually on a sticker inside the driver’s door or in the owner’s manual). Opt for high-quality, manufacturer-matched Land Rover touch-up paint to ensure a seamless blend with your vehicle’s original finish.
Choosing a paint color without verifying it against your vehicle’s exact shade is risky. Even slight variations in color can make the repair noticeable, which defeats the purpose of a touch-up. If you're unsure, test the paint on a hidden area before applying it to the scratch.
4. Applying Too Much Paint at Once
Many people assume that applying a thick layer will fix the scratch quickly. However, thick layers can cause dripping, uneven coverage, and a bumpy finish. Instead, apply multiple thin coats, allowing each layer to dry before adding another. Patience is key to achieving a smooth repair.
5. Not Allowing Sufficient Drying Time
Rushing through the process is another common mistake. Each layer—primer, paint, and clear coat—needs ample time to dry before applying the next. Check the drying times recommended on the product label and follow them closely. If you rush, the layers may not bond, leading to peeling or an uneven surface.
6. Skipping the Clear Coat
The clear coat is crucial for blending the touch-up paint with the rest of your vehicle’s finish. It adds shine, protects the paint, and ensures longevity. Many DIYers forget this step, leading to a dull and unprotected repair. Once the color coat is dry, put a layer of clear coat on it and let it cure properly.
Skipping the clear coat can make your touch-up look dull and unfinished. This protective layer also shields your paint from UV rays and some environmental factors that can cause fading over time.
7. Neglecting to Blend the Edges
To avoid this, gently feather the edges of the paint into the surrounding area. This technique helps the new paint blend seamlessly with the original finish.
If you’re using spray mix paint, hold the can at a consistent distance and use light, even strokes. Blending ensures that the repair isn’t noticeable and that the area looks as smooth as possible. It’s a simple step that makes a difference in the final result.
8. Using the Wrong Application Tool
While touch-up paint kits come with brushes, they aren’t always the best option. For fine scratches, a toothpick or a fine-tip paint applicator allows for better precision. A small sponge can also help blend larger areas smoothly.
Different tools work better for different types of scratches. If the brush in your kit seems too thick for the job, don’t hesitate to switch to a finer tool for better control.
9. Applying Paint in Bad Weather Conditions
Temperature and humidity play a big role in how well the paint adheres. If it’s too cold, the paint won’t dry easily. If it’s too hot or humid, it can bubble or take longer to cure. The ideal conditions for applying touch-up paint are temperatures between 60–80°F (15–27°C) with low humidity.
10. Not Buffing and Polishing the Area
Even if you apply the paint perfectly, the repaired area may still stand out if you don’t buff and polish it. Once the paint and clear coat have fully cured, use a polishing compound to blend the repair into the surrounding area.


